Plantain: Identification, Foraging and First-Aid Uses
A practical guide to broadleaf and ribwort plantain: how to identify both, where to forage them in the UK,...

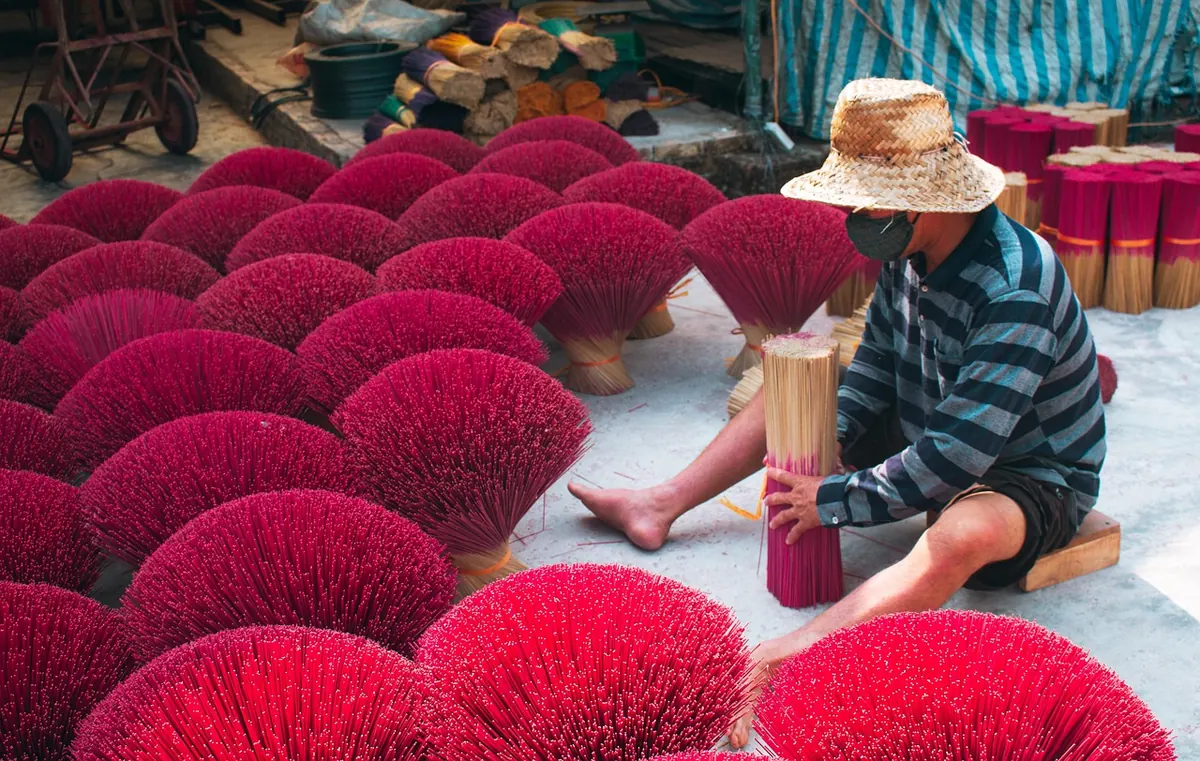
There is a particular satisfaction in reaching for a jar of your own dried lemon balm in January, crumbling a few leaves into a teapot while the garden outside is doing nothing at all. Drying herbs is one of the oldest kitchen skills there is, and it is forgiving — but not quite as simple as hanging a bunch in the shed and hoping. Get the timing and the storage right and your herbs will hold their colour, scent and much of their character for a year or more. Get them wrong and you end up with dusty, flavourless leaves, or worse, a jar of mould.
The essential oils that give herbs their scent are at their peak just before the plant flowers. Once the buds open, the plant puts its energy into seed and the leaves turn tougher and less aromatic. Watch for the moment when the plant is bushy and full but the flower heads are still tight.
Pick into a basket rather than a plastic bag; crushed, sweating herbs begin to break down before they even reach the kitchen. Choose unblemished stems, and leave the plant with plenty of growth to recover.
Air-drying suits low-moisture herbs such as rosemary, thyme, sage, oregano, marjoram and bay. These have small, leathery or woody leaves that resist mould. High-moisture herbs — mint, basil, lemon balm, tarragon — are trickier and better suited to a dehydrator or a very warm, dry room.
Strip the bottom few inches of leaves, tie four to six stems together with string or a rubber band (the band tightens as the stems shrink), and hang them upside down somewhere warm, dark and airy. An airing cupboard, a cupboard with the door propped open, or a shaded porch all work. Aim for roughly 20–25°C with moving air. Darkness matters more than people expect: light bleaches the leaves and breaks down the aromatic oils.
For herbs with fine leaves, or if you are drying individual leaves rather than whole stems, spread them in a single layer on a muslin-covered rack, an old window screen or a clean cooling rack. Turn them once a day. Good airflow underneath prevents the flat, damp patches where mould starts.
How long? Anywhere from three days to two weeks, depending on the herb and the weather. The stems should snap rather than bend — that is your signal to move on.
An oven will dry herbs in hours rather than weeks, but it is easy to cook them instead. Keep the temperature as low as your oven will go — ideally around 40°C, and certainly no higher than 50°C — and leave the door slightly ajar so moisture can escape. Spread the leaves in a single layer on baking parchment and check every twenty minutes. If the kitchen suddenly smells strongly of the herb, the oils are leaving the plant and heading into the air. Turn the heat down.
A food dehydrator is the gentlest of the quick methods: set it to 35–40°C and follow the manufacturer's timings. It works especially well for basil, mint and other soft-leaved herbs that blacken easily in an oven. Microwaves will technically dry small quantities, but the results are uneven and easy to scorch, so they are rarely worth the trouble.
Under-drying is the single biggest cause of mouldy jars. A herb is ready when it crumbles rather than bends: a leaf should snap between your fingers and the stem should break with a clean crack. Test a thick stem from the middle of the bunch, not just the wispy ends, which dry first.
If you are unsure, put the herbs in a paper bag for a couple of days and check again. Any condensation inside the bag means there is still water in the plant. Return them to the drying rack.
Once dry, handle the herbs as little as possible and keep them whole. Crushing releases the oils you want trapped in the leaf until you actually use them. Strip the leaves from the stems over a bowl, or store the sprigs intact and crumble them at the last moment.
Whole dried leaves generally hold their scent and colour for around a year; roots and barks for two or three. After that they are not harmful, just tired — fine for a tisane, disappointing in a remedy where you want the full aroma.
Watch for the warning signs: a musty smell when you open the jar, clumping, greyish fuzz, or condensation on the inside of the glass. If you see any of them, throw the contents out. Mouldy herbs are not worth salvaging, and no amount of drying later will make them safe.
A few habits keep problems away. Never pack herbs into jars while they are still warm from the oven — let them cool completely first. Rotate your stock, using the oldest first. If you live somewhere damp, a small packet of food-safe silica gel in the storage box helps, as long as it never touches the herbs themselves.
Start with the herbs you actually use. A few jars of reliable favourites — thyme, sage, mint, chamomile — will serve you better than twenty jars of things you dried because they happened to be ready. Keep brief notes: which method worked, how long the jar lasted, which herb lost its scent fastest. Two or three seasons in, you will know exactly what your kitchen and your climate can manage.
Home-dried herbs are best treated as a pleasant, useful part of a wider approach to wellbeing rather than a medicine cabinet in themselves. If you are using herbs for a specific health complaint, or you are pregnant, breastfeeding or taking prescribed medication, speak to a qualified herbal practitioner, pharmacist or your GP before relying on them.
Photo: lehuudat / Pixabay
A practical guide to broadleaf and ribwort plantain: how to identify both, where to forage them in the UK,...
Cold water draws out the delicate aromatics and soothing gels that heat destroys. Here is how to make a...
A month-by-month guide to UK foraging, from March nettles to winter jelly ear, with practical picking...